How to Do Your First Whatnot Show: A Step-by-Step Beginner Guide
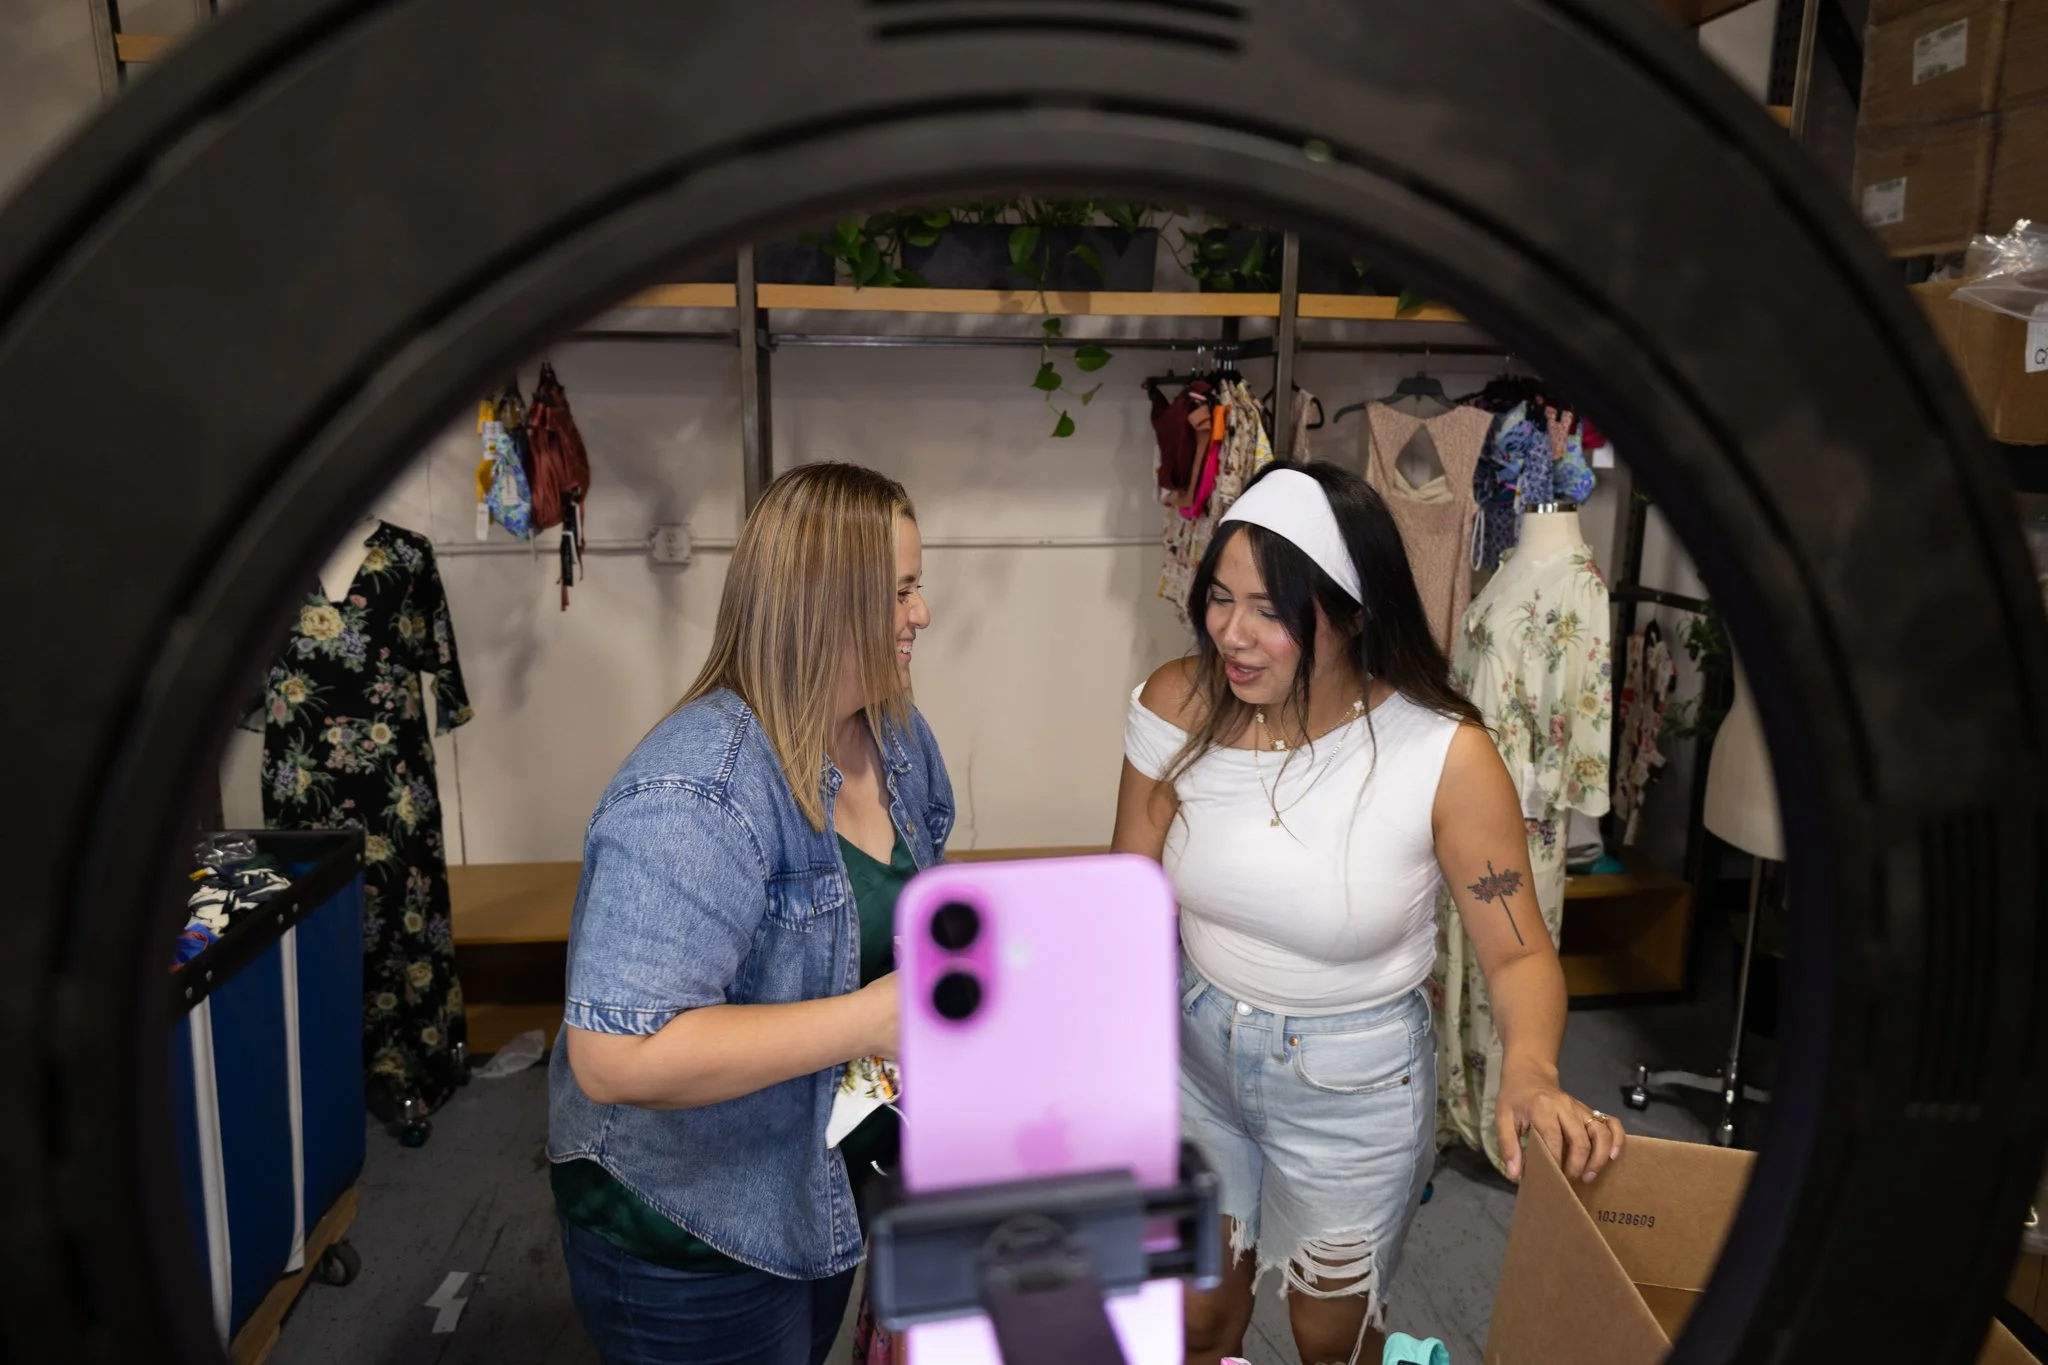
The first thing I want you to do after being approved to sell on Whatnot is simple:
Schedule your first show.
Don’t wait until you feel completely ready, because you probably won’t. Give yourself a week or two to prepare, but choose the date now so you have something real to work toward.
When I scheduled my first show, I was terrified.
I didn’t understand all the technology. I was insecure about my English, nervous about being on camera, and afraid nobody would buy anything. When I finally went live, I cried, froze, and ended the show after only a few minutes.
It was messy—but it was also the beginning of the business that changed my family’s life.
Your first show is not supposed to prove that you are already an amazing live seller. It is your first training session
You are there to learn.
Want the entire process beside you while you prepare?
The complete guide walks you through setting up your account, preparing your profile, scheduling your show, choosing equipment, engaging viewers, shipping orders, sourcing inventory, and evaluating your results.
For now, let’s get your first show scheduled.
Step 1: Choose Your Date Before You Feel Ready
If you were approved today, schedule your first show within the next one or two weeks.
Choosing a date gives you enough time to:
Prepare your seller profile.
Choose what you will sell.
Gather basic equipment.
Create your listings.
Learn the platform.
Promote the show.
Practice your introduction.
Whatnot currently lets sellers schedule through Seller Hub, where you can add a title, category, selling format, thumbnail, tags, moderators, shipping settings, show notes, and a repeat schedule. Review Whatnot’s current show-scheduling instructions.
Once you publish your first show, you have a deadline.
That helps turn “I want to try live selling someday” into “I’m going live next Thursday.”
Step 2: Set Up Your Seller Profile
Your profile is your storefront.
Before anyone sees your products, your profile helps them understand who you are and whether they can trust you.
Start with a clear, friendly profile photo. I usually recommend using your face because live selling is built around people and connection. If you already have an established brand, you can use your logo—but buyers should still have opportunities to see the person behind it.
Next, write a short bio that tells people:
Your name.
What you sell.
When you normally go live.
Something memorable about you.
Where else they can follow you.
For example:
Mom of four | Thrifted fashion and reseller finds | Live every Wednesday | Faith, family and finds
Try to use the same username and profile photo across Whatnot, Instagram, TikTok, and YouTube. That makes it easier for someone who discovers you on one platform to recognize you everywhere else.
Don’t leave your photo and bio blank. When a potential buyer visits your profile, she should immediately understand who you are and what she can expect.
Step 3: Pick a Simple Theme
You do not need 100 or 200 products for your first show.
Start small.
Your first show might be:
My First Whatnot Show.
Closet Cleanout.
$5 Finds Friday.
Mom’s Closet Blowout.
Thrifted Fashion Finds.
Kids’ Clothing Sale.
Home Treasures.
Beauty Finds for Beginners.
Choose items you know and can talk about easily.
Your first show is about learning how to introduce yourself, pin products, speak to the chat, run an item, and become comfortable on camera.
You can grow the inventory as your confidence and audience grow.
Step 4: Create a Clear Title and Thumbnail
When someone scrolls through Whatnot, your title and thumbnail need to explain what your show is about quickly.
For your debut, don’t be afraid to say:
MY FIRST SHOW!
The Whatnot community often enjoys supporting new sellers. If people know it is your first time going live, they may be more patient, encouraging, and willing to help you learn.
You can create your thumbnail in Canva using an Instagram Story-style vertical design. Whatnot currently recommends a vertical 9:16 image or video at 1080 × 1920 pixels. If you don’t upload one, the platform uses your profile photo instead. See Whatnot’s current thumbnail and scheduling recommendations.
Keep the thumbnail simple:
Use a bright photo of yourself or your products.
Add a short, readable headline.
Avoid too much text.
Make the product category obvious.
Use colors that stand out while someone is scrolling.
You don’t have to be a graphic designer. You only need to make the purpose of the show easy to understand.
Step 5: Gather the Equipment You Actually Need
You do not need an expensive studio to start live selling.
At the most basic level, you need:
A phone.
A stable phone stand or tripod.
A ring light or good natural lighting.
Reliable Wi-Fi.
A clean, simple background.
A printer for shipping labels.
A scale for accurate packed weights.
Shipping supplies.
Water.
Your products within reach.
When I started, I used a large regular printer. I printed labels on paper, cut them out, and taped them to the packages.
A thermal label printer is easier because the labels print like stickers, but you do not need one before your first sale. Upgrade your equipment as the business grows.
Lighting matters because buyers need to see you and the condition of the products clearly. If you do not own a ring light, position yourself near a window and test the setup before the show.
Your background doesn’t have to be fancy. Choose a clean wall or organized area that won’t distract viewers from what you’re selling.
Step 6: Prepare Your Shipping Supplies
You will need packaging ready in case you make a sale or run a giveaway.
Depending on what you sell, that may include:
Poly mailers.
Boxes.
Bubble wrap.
Tissue paper.
Packaging tape.
Thank-you notes.
A label printer or regular printer.
A shipping scale.
USPS offers free Priority Mail and Priority Mail Express packaging online and at many Post Office locations. However, USPS-produced Priority Mail packaging must be used with the corresponding Priority Mail service—it is not free general-purpose packaging. Review USPS packaging guidance.
You can purchase basic poly mailers in smaller quantities while you are starting. There is no reason to buy thousands before you know which sizes your products require.
Start with enough supplies to fulfill your first few orders, then build from there.
Here is my go to
Step 7: Create Your Listings and Check the Weight
Before your show, prepare the products you plan to sell.
For each listing, include:
A clear title.
A photo when possible.
A short description.
The brand.
The size.
The condition.
Any flaws.
An accurate packed weight.
The correct shipping profile.
The weight is especially important.
If you underestimate the weight or dimensions, the shipping label may be underpaid, you may need to make an adjustment, or you could be charged additional shipping costs. If you overestimate, the buyer may pay more than necessary.
Whatnot recommends including the item and packaging materials when calculating the shipment’s weight. See Whatnot’s current shipping-profile guidance.
If an item falls between weight options, choose the appropriate higher tier instead of reporting a weight that is too low.
Your listings do not need to be perfect, but they do need to be honest and clear.
Step 8: Decide Whether to Run a Giveaway
A giveaway can bring energy into your first show, but you do not have to run one.
If you decide to include a giveaway, choose something small, relevant, and affordable to ship.
Whatnot currently requires sellers to create a giveaway listing before running it. Sellers are responsible for the giveaway’s shipping cost, which is deducted from the account balance. Review Whatnot’s current giveaway instructions and costs.
Check the current shipping cost before choosing the prize. Don’t assume an older shipping method or price is still available.
The goal is to create excitement without turning your first show into a financial loss.
Step 9: Promote Your First Show
At the beginning, people don’t know your name or schedule yet. You have to tell them when you’re going live.
Share your show through:
Instagram Stories.
TikTok videos.
Facebook groups that allow show promotion.
Your personal Facebook page.
Your email list.
Reseller communities.
Friends and family.
Conversations with other sellers.
Visit other sellers’ shows and participate genuinely in their communities. If you want to mention your first show, ask the host for permission before promoting yourself in the chat.
You can say:
“I’m having my first show next Thursday, and I’m so nervous! Would it be okay if I shared it here?”
Encourage people to bookmark the show so they can receive a notification when you go live.
Whatnot also recommends sharing the scheduled show link early and stocking the show with inventory so buyers can browse or place bids in advance.
Step 10: Prepare What You Will Say
It is completely normal to forget every word the second the camera turns on.
Prepare a simple introduction:
“Hey, everyone! My name is Cindy, and this is my first show. I’m a little nervous, but I’m so excited you’re here. Today, I’ll be selling thrifted clothing and sharing more about how I started reselling.”
Then write five easy conversation starters on a sticky note:
Where are you watching from?
What sizes are you shopping for?
What is your favorite brand?
Are you a reseller too?
What kind of show should I host next?
What is your favorite ice cream?
Is this your first time watching a live sale?
These questions can help when the chat is quiet and your mind goes blank.
Someone may not answer immediately.
Keep talking anyway.
Describe the product, explain why you chose it, share a short story, or tell viewers what is coming next.
Step 11: Remember Why You’re Going Live
As your show gets closer, your fear may get louder.
I call that negative voice in my head “Bruno.”
Bruno says:
Your English isn’t good enough.
You don’t look good on camera.
Nobody is going to watch.
You don’t know what you’re doing.
You’re going to embarrass yourself.
You should reschedule.
Stop listening to Bruno.
Write down why you are building this business and keep it somewhere you can see while you’re live.
Maybe you want to:
Pay off debt.
Create another stream of income.
Spend more time with your children.
Leave your job.
Build savings.
Help your family.
Prove to yourself that you can do something new.
You are allowed to feel afraid.
Courage doesn’t mean the fear disappears. Courage means you press “Go Live” while the fear is still there.
Step 12: Press the Button
When it is time to start, check the basics:
Your phone is charged.
Your Wi-Fi works.
Your microphone is on.
Your lighting looks clear.
Your products are organized.
Your shipping weights are prepared.
Your water is nearby.
Your “why” is visible.
Your show outline is within reach.
Then press the button.
Tell people it is your first show. Be honest if you are nervous. Your realness can become the beginning of the connection you build with your audience.
If only one person enters, treat that person like one hundred people.
Imagine you own a physical store. If one customer walks through the door, you wouldn’t ignore her because the building wasn’t full.
You would welcome her and help her.
Do the same thing during your live show.
What If Nobody Buys the First Item?
Keep going.
If the item doesn’t sell, say:
“No problem! This one is still available. If you want me to run it again later, let me know.”
Then move to the next product.
One unsold item does not mean the show failed. Your customers may still be learning who you are, what you sell, and whether your products fit what they need.
Your first show is training.
Every product you present helps you become more comfortable describing items, watching the chat, and managing the platform.
And hey… if no one buys at all, don’t sweat it. :) The biggest win is YOU DID IT!
Step 13: Ship and Follow Through
After the show, double-check that each label matches the correct order and package every item carefully.
Whatnot currently asks sellers to ship orders within two business days, excluding weekends and holidays. An order is considered shipped when the carrier gives it a drop-off scan—not when the label is printed. See Whatnot’s current shipping timeline.
Small touches can help create repeat buyers:
Fold clothing neatly.
Protect fragile items.
Include a thank-you note.
Double-check the label.
Ship promptly.
Communicate honestly if a problem happens.
Treat every customer like your first customer.
Step 14: Review Your First Show
Once the packages are handled, write down:
What went well?
Did you introduce yourself clearly?
Did someone engage in the chat?
Did you stay live longer than expected?
Did you sell an item?
Did your setup work?
What needs improvement?
Did you forget to pin an item?
Were your products difficult to reach?
Did you need better lighting?
Were the shipping weights correct?
Did you run out of things to say?
Was the background distracting?
Your second show will be better because of what you learned during the first one.
Then congratulate yourself.
You did something that scares a lot of people. Even if the show was messy, you pressed the button and started.
That matters.
Your First Show Is Only the Beginning
My first live show did not look like the live-selling business I have today.
I was nervous, insecure, and unsure what I was doing. I could never have imagined that Moms & Crumbs would become a multi-seven-figure business or that I would eventually become one of TikTok’s top live sellers.
None of that could happen until I was willing to have a bad first show.
Whether you begin on Whatnot, TikTok, Amazon, or another live-selling platform, you will learn by showing up.
You don’t need perfect circumstances.
You need the courage to start where you are.
Download the Complete Whatnot Beginner Guide
This article gives you the foundation, but the complete Whatnot Beginner Checklist: Start Reselling From Home & Build Real Income gives you a step-by-step resource to keep beside you as you prepare.
Inside the free guide, you’ll get:
Whatnot account and Seller Hub setup.
Seller profile checklist.
First-show scheduling guide.
Title and thumbnail tips.
Live-show confidence checklist.
Viewer engagement prompts.
Shipping and post-show steps.
Cindy’s reseller toolkit.
Beginner inventory and sourcing ideas.
Community resources.
A printable reminder of what to do before, during, and after your show.
Ready to Schedule Your First Show?
Start with what you have. Follow the steps. Go live before you feel completely ready.
You got this.
Watch or Listen to the Episode
00:00 – Feeling scared before your first Whatnot show? You’re not alone.
01:00 – The importance of scheduling your show early.
02:00 – Setting up your seller profile + bio the right way.
03:00 – Why your first show will be messy (and that’s okay).
05:00 – Equipment you actually need — ring light, phone, printer.
07:00 – Where to get free boxes + cheap poly mailers.
08:00 – How to create your first thumbnail in Canva.
10:00 – Promoting your show through community + Facebook groups.
11:00 – How to handle the nerves before you go live.
13:00 – Avoiding shipping and giveaway mistakes.
17:00 – Preloading listings vs pallet pulls for beginners.
19:00 – Overcoming fear and remembering your “why.”
22:00 – Talking to an empty chat + keeping energy high.